
3D Printing
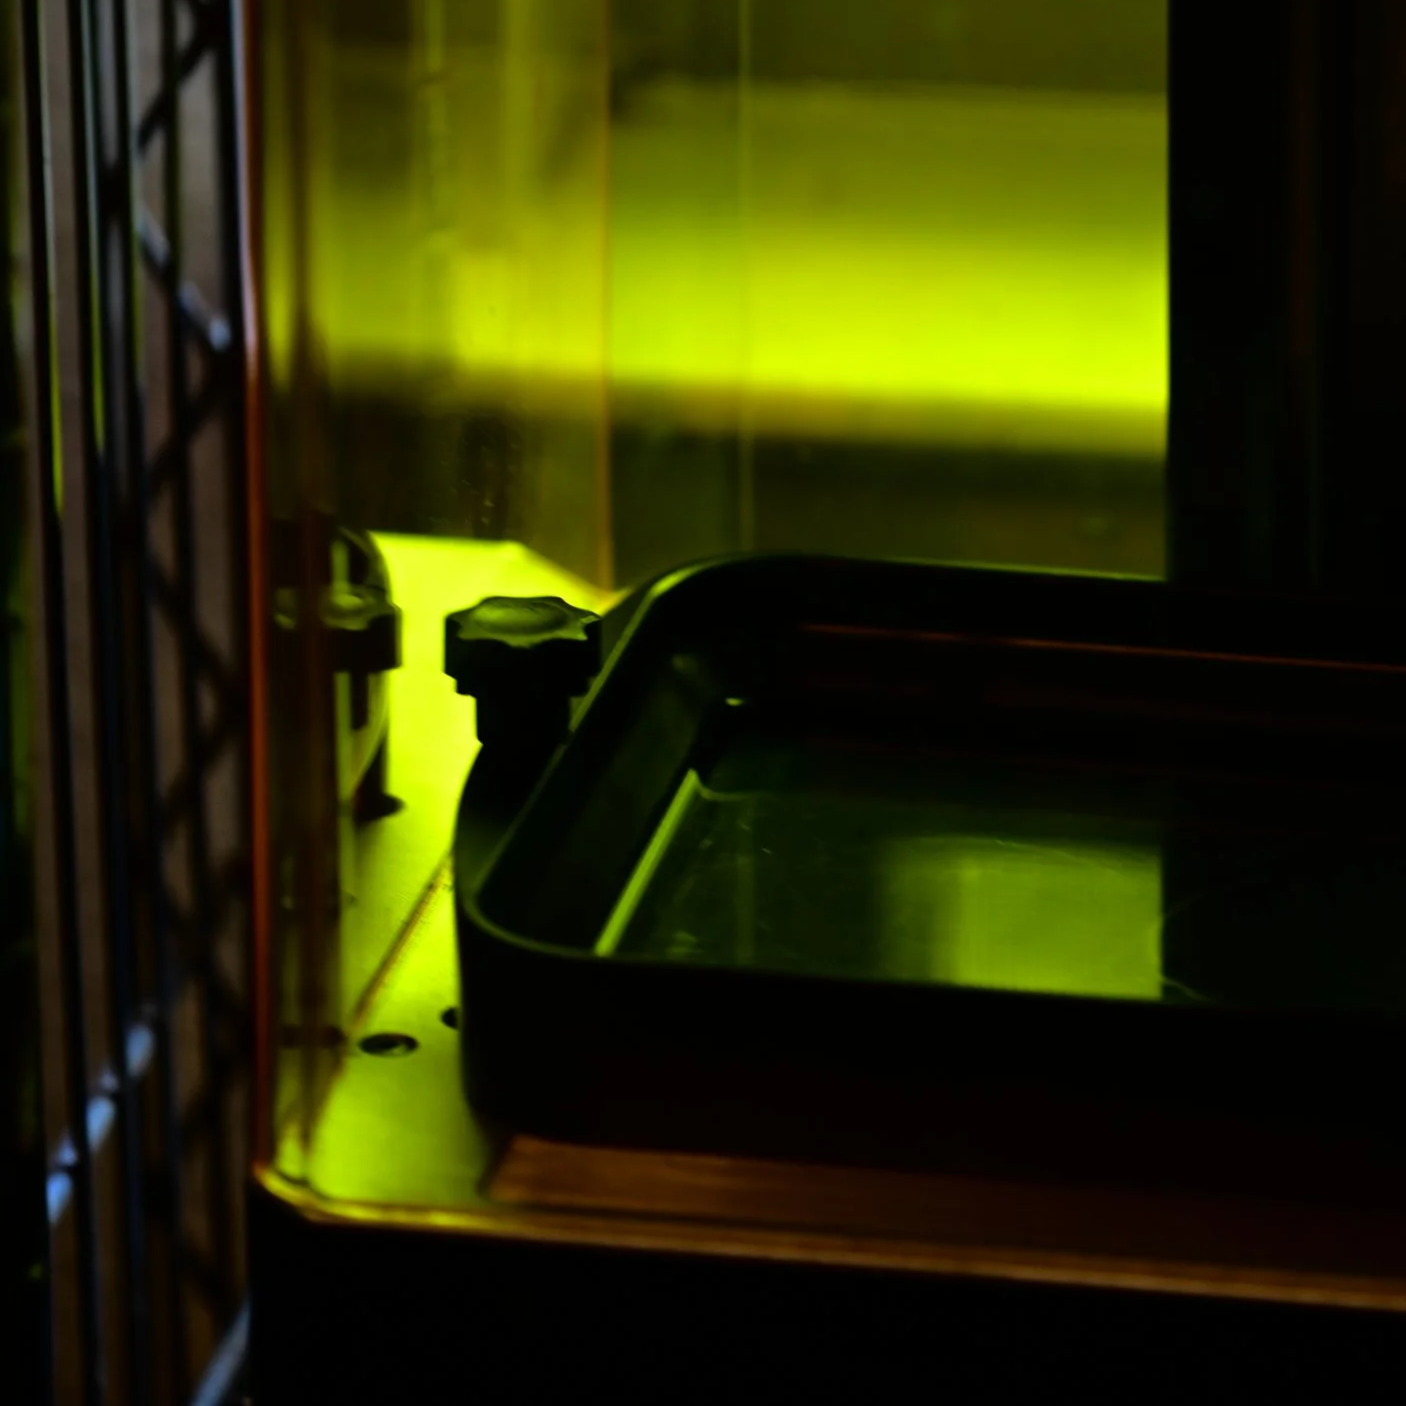
Ideal for our Rapid Prototyping projects, 3D printing is a great option for those who already have a design, but don’t have the printers they need at their disposal.
Alternatively, 3d printing can be an excellent first step if your project doesn’t have a model yet. We can help you design something and then 3d print a test part for Proof of Concept.
We can print in anything from PLA to PETG, Resin to Burnout Wax - Let us know what you’re interested in and we’ll let you know if we have it on hand right now.
The Life of a 3D Print: From Polygon to Product
Ever wondered how a digital idea turns into something you can hold in your hands? As a family-run workshop, we treat every single project like a custom creation. Here is a peek behind the curtain at what a 3D print goes through in our shop before it makes its way home to you!
Step 1: Digital Sandboxes & Teamwork
Long before a printer ever warms up, your idea starts in our digital sandbox—we love using Fusion 360 for our design work. We meticulously review every line and curve of your model, hunting down tricky geometry, potential stress points, or small design tweaks that will make the final print turn out crisp and strong.
If we notice anything that needs adjusting, we collaborate directly with you. We review any proposed changes together because keeping you confident and involved at every step is a core part of how our family works.
Step 2: Slicing & Hand-Placed Supports
Once the design is locked in, we move into our slicing software. Think of a slicer as a tool that translates your 3D object into hundreds—or even thousands—of microscopic horizontal layers, giving the printer precise instruction for every single step.
To keep overhangs from drooping mid-print, we carefully hand-place custom supports where the model needs them most. It’s equal parts science and intuition, giving your print the absolute best chance of success.
Step 3: Picking the Perfect Material
Different jobs call for different materials. We work with you to match your project’s real-world needs with the right print medium:
PLA: Fantastic for decorative items, quick prototypes, and detailed display pieces. It offers bright colors, smooth finishes, and crisp details.
PETG: The ultimate all-rounder. Durable, slightly flexible, and weather-resistant—great for functional mechanical parts or items taking a trip outdoors.
ABS / ASA: Tough, heat-resistant, and UV-stable. Ideal for high-stress components, automotive uses, or heavy-duty outdoor gear.
TPU: Flexible and rubber-like. Perfect for gaskets, protective bumpers, grips, or anything that needs to bend, flex, and bounce back.
Standard & Tough Resins: Engineered for stunning visual precision, smooth miniatures, intricate jewelry master patterns, or ultra-fine detailed parts.
Burnout Resins: Specifically for casting projects, these 3D resin prints are designed to be melted out of an investment material to make way for molten metal.
Step 4: Selecting the Machine
Depending on the size, required precision, and final use of your piece, we select the right printer style for the job:
FDM (Fused Deposition Modeling) Printers: These work by melting and extruding spools of thermoplastic filament layer by layer. They are the go-to workhorses for larger objects, strong structural parts, and functional designs.
Resin (SLA/MSLA) Printers: These use ultraviolet light to cure liquid resin layer by layer with incredible precision. They excel at extreme micro-detail, buttery-smooth surfaces, and small, intricate geometry.
Step 5: Pre-Flight Prep
Before hitting "go," we prep our workspace and gear:
Cleaning print beds and resin screens until they’re spotless.
Thoroughly mixing resins or loading fresh spools of filament.
Drying out filaments in specialized chambers to prevent moisture that leads to messy prints.
Monitoring ambient room temperature and humidity for optimal material adhesion.
Step 6: The Print & Constant Care
File loaded, button pushed, and… cue the excited, nail-biting anticipation! We love watching these parts come to life.
3D printing isn’t just "set it and forget it." If a support breaks or a layer shifts, we catch it early, pause the machine, and regroup. If needed, we jump back into Fusion 360 or our slicer to re-tool the file and start fresh. We stick with it until the print comes out right.
Step 7: Post-Processing & Finishing Touches
When the printing finishes, the handcrafting begins:
For FDM Prints: We carefully remove support structures, then hand-sand, deburr, and smooth out any touchpoints.
For Resin Prints: We submerge and thoroughly wash the part in specialized baths, carefully remove support nubs, and then place it in a UV curing chamber to lock in its final strength.
Step 8: Photo Shoot & Delivery
Before any part leaves our hands, it goes through a final quality inspection in our lightbox photo setup. We send high-res photos directly to you so you can see your finished part in all its glory.
Finally, we pack your order securely—and if you’re local, you might even get a friendly hand-delivery right to your door!